Custom Main Menu Background Guide
Customize Main Menu Background with Location/Main Menu consoles
This guide will show you how to have different background for different TVs
Access IPTV Console Features
1. Log onto Console -
Enter “ http://<serverIp>/Console” on a browser
Enter “Account”, “Password” and “Site ID”
2. Hover over “SERVER” in the top left and click the drop down arrow
Select desired site
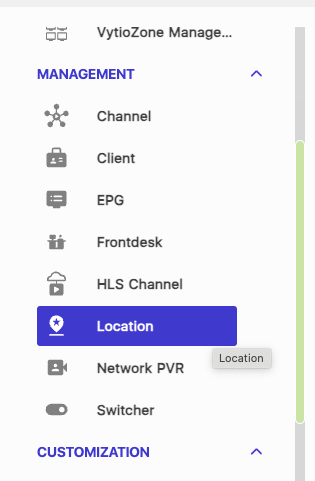
3. Once on the correct site select “Location” Console on the left hand side
In the Location Console
On the right pane select the plus button to add a locale group

2. Create a name for the locale group. In this example, we are using the name “Test”.
3. In this page's bottom section, check the boxes of the desired room numbers.
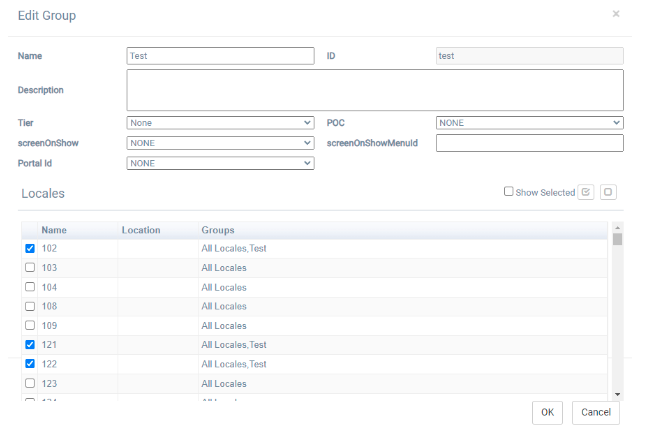
4. Select “OK”.
5. In the right pane make sure the locale group is above “All Locales”.
To do this, check the box of the locale group and press the up arrow at the top of the right pane.

Main Menu Console
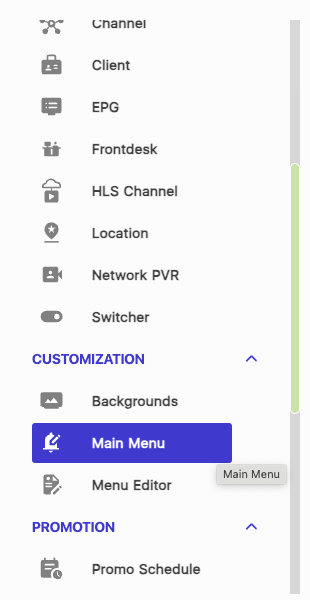
Next, navigate to the “Main Menu” Console on the lefthand side.
2. At the top right of the page select Playlist Editor Symbol.

3. Inside this prompt, select the “Add File” option.
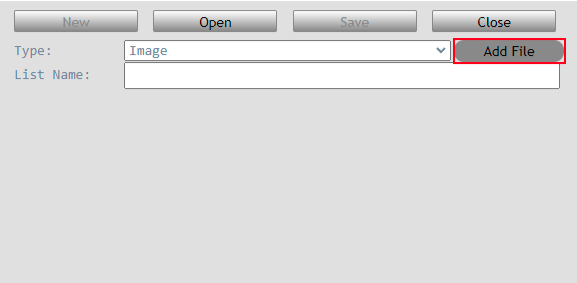
This will bring up the file directory, from here navigate to your desired image.
(Note: This directory uses the SiteMedia Folder which can be found on the C: drive)
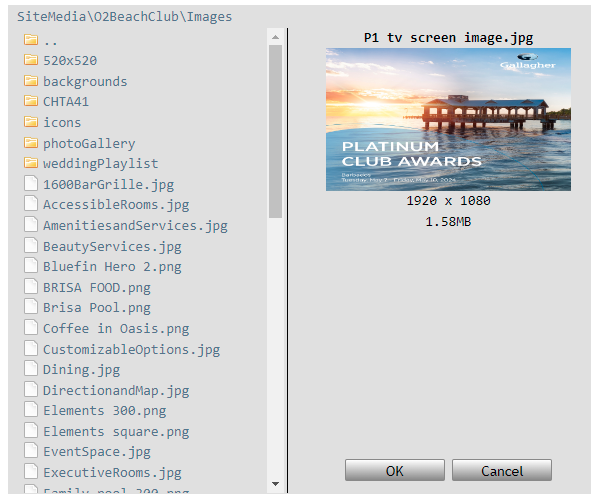
4. Select the desired image and press “OK”.
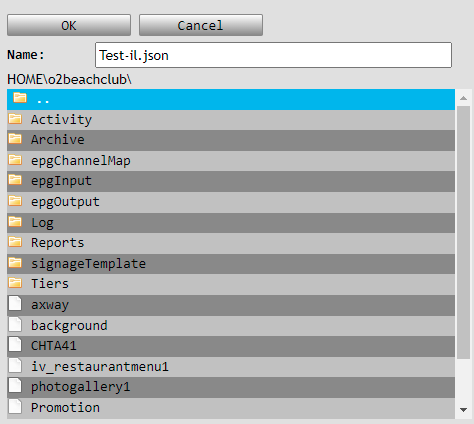
5. Next, rename your image list to something memorable with no special characters.
In this example, we are using “Test”.

(**Important Note: -il.json must be left unchanged)
6. Select “Save”.
Once Save is selected it will bring up this page:
7. Select “OK” then select “Close”.
8. On the left pane select the add button.

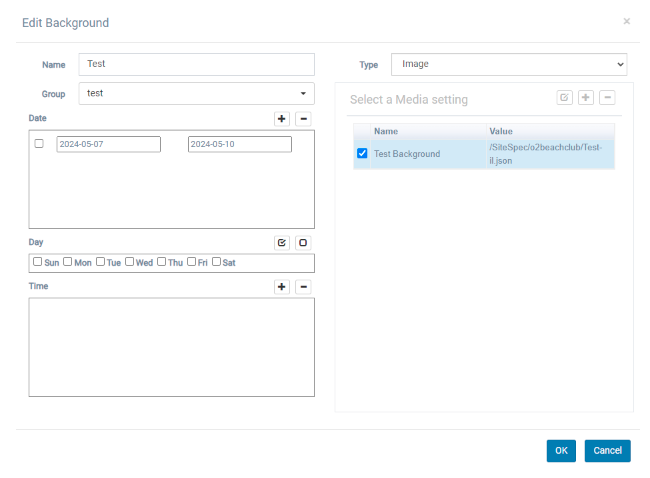
9. Give the custom background a name, for this example, we will use “Test”.
10. Under the “Group” option, please select the correct locale group.
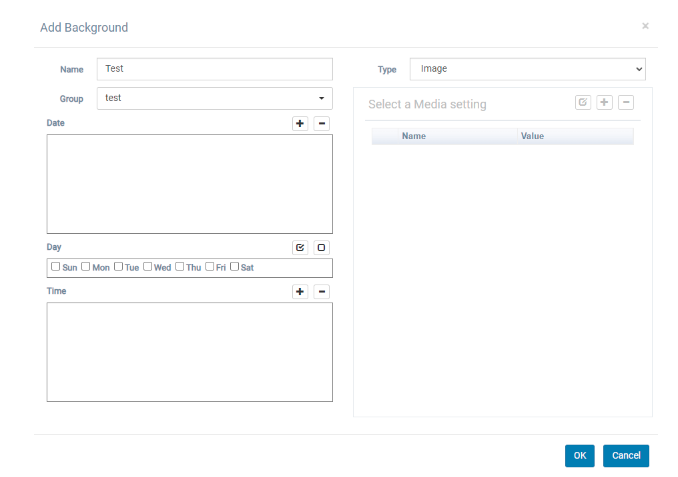
11. Moving down, select the add button under the date section.
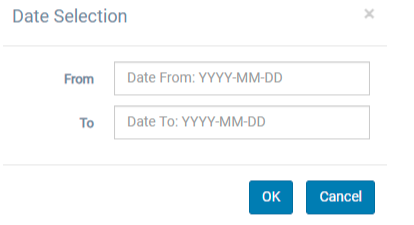
12. Select the desired dates and then select “OK”.
Under the Time section, leave blank if the background is to display all day, otherwise specify at which times the custom background should display.
13. On the right side of the page make sure “Type” is set as “Image”.
14. Next, select the add button under “Select a Media Setting”.

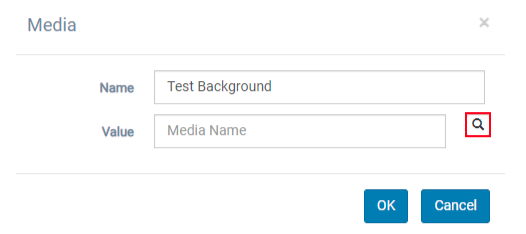
15. Name the media, in this example, we will use “Test Background”.
16. In the Value section select the search icon.
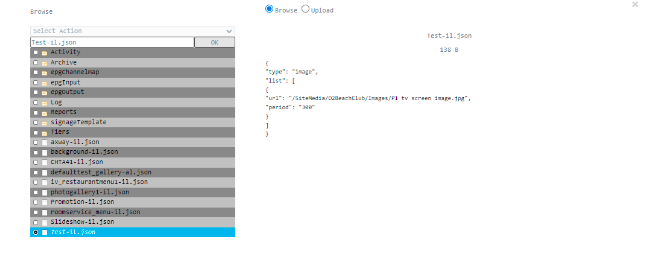
17. Navigate to the image list created earlier in the guide (Our example image list we named Test-il.json) make sure the box is checked and select “OK”.
18. Select OK again.
19. Select OK again.
20. On the left side of the page make sure Background is set to “On”.

21. At the top right of the page select the Save icon.
The Custom Background is finished.
To make updates/changes:
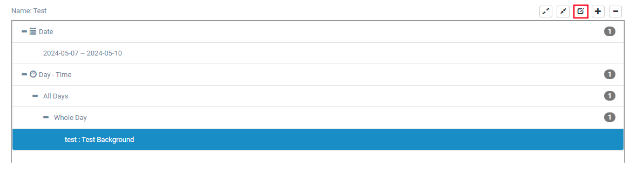
Make sure your Background is highlighted.

2. On the right side of the page are attributes you can edit for example to change the background image, select the name of the background, and then select the Edit button.
3. From here it will bring back a familiar page where you can make your desired changes.
4. Once finished select the Save icon.
